
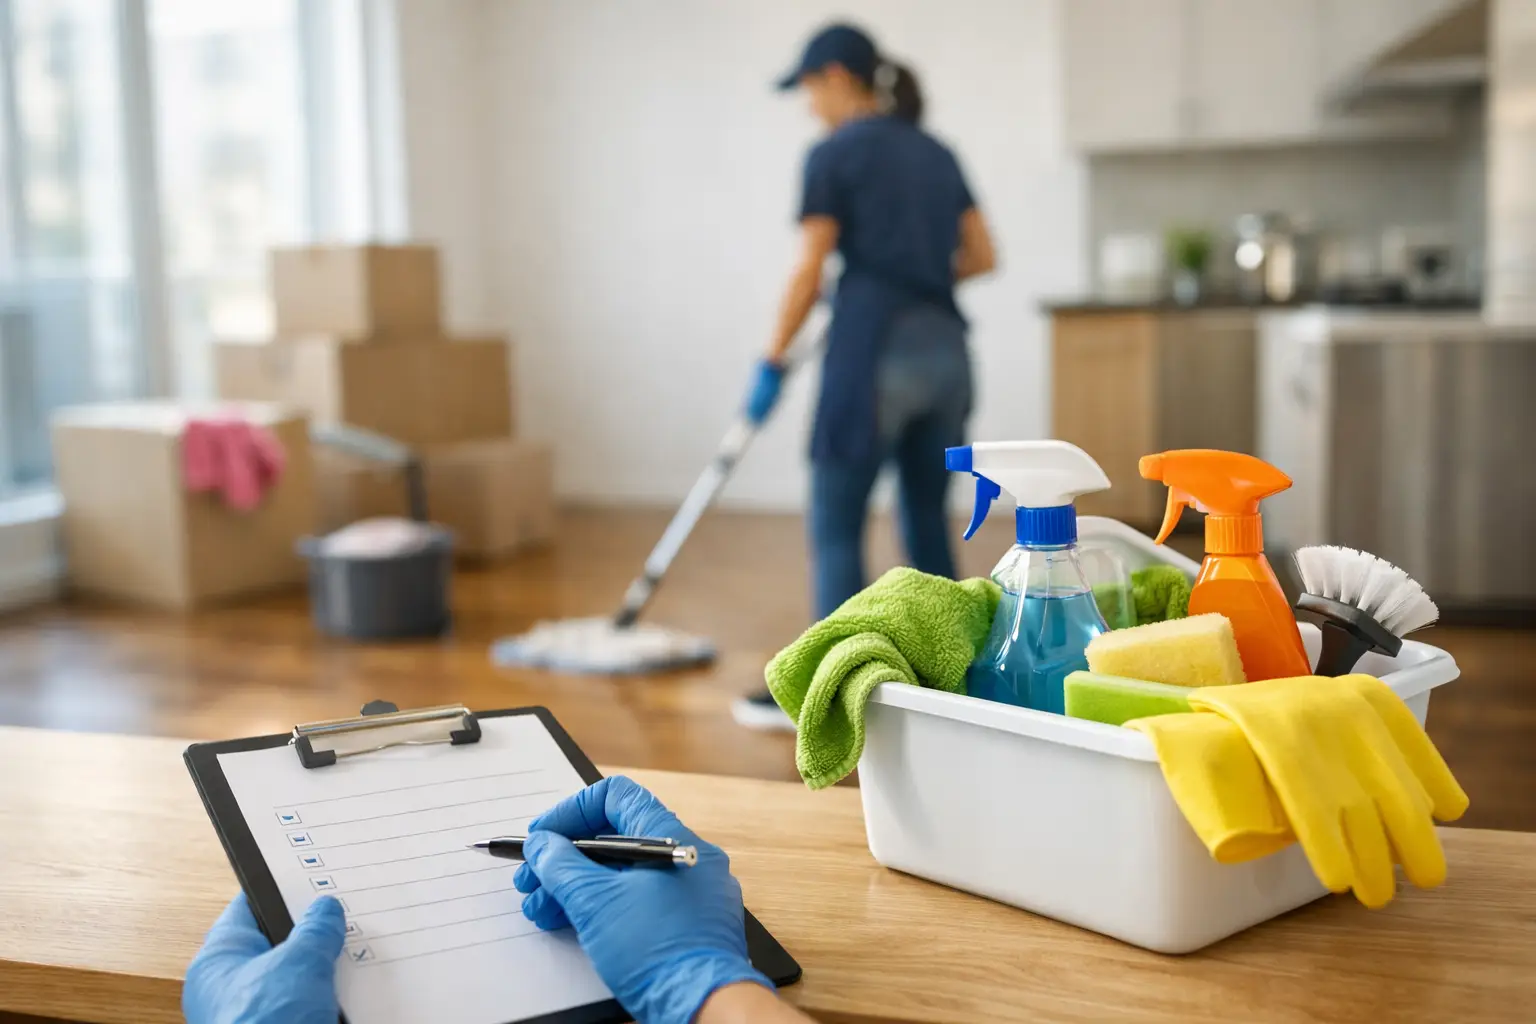
A rushed move-out clean usually fails in the same places - inside appliances, baseboards, cabinets, and the corners no one notices until inspection day. A solid move out cleaning checklist keeps the job controlled, thorough, and fast enough to finish without turning your last day in the home into a marathon.
If you are trying to protect a security deposit, hand over a home in good condition, or prep a property for the next occupant, the standard is simple: leave it looking fully reset, not just picked up. That means cleaning what people see and what they open, touch, and inspect. The difference matters.
Why a move out cleaning checklist saves time
Most people lose time by cleaning in the wrong order. They wipe counters, then create more dust while emptying shelves. They vacuum too early, then track debris back across the floor while moving the last few items out. A checklist fixes that. It gives the work a sequence, which is what makes the result look professional.
The best approach is to clean only after the space is empty. Once furniture, boxes, and personal items are gone, you can see the actual condition of the home. Scratches, dust lines, sticky cabinet shelves, and appliance buildup are much easier to spot when nothing is hiding them.
It also helps to think in terms of inspection zones rather than random tasks. Landlords, buyers, and property managers rarely judge a move-out clean by one shiny surface. They notice whether the entire home feels consistently clean. That means every room needs the same level of attention.
Move out cleaning checklist by order of work
Start high and work down. Dusting first prevents rework later. Begin with ceiling fans, vents, light fixtures, upper shelves, and the tops of doors. Then move to walls, trim, windowsills, blinds, and baseboards. Save floors for last in every room.
As you go, remove nails, hooks, and temporary adhesives if your lease or agreement requires it. Patch work may also be needed, but that is separate from cleaning. The key is to avoid leaving behind anything that makes the space feel unfinished.
Kitchen
The kitchen usually decides whether the entire property feels clean. It also takes longer than most people expect. A quick wipe-down is not enough here.
Empty every cabinet and drawer completely. Wipe the interiors, especially corners where crumbs and dust settle. Clean fronts, handles, and the top edges of doors and drawer faces. Grease buildup around cooking areas is common, so pay extra attention near the stove and vent hood.
The sink should be scrubbed, dried, and free of residue. Countertops and backsplash need to be fully degreased. If there are stains that will not lift, remove what you can and make sure the surface is still sanitary and visibly cared for.
Appliances matter. The refrigerator should be emptied, shelves removed if needed, and all interior surfaces cleaned. Do the same for the freezer. The oven needs more than a quick pass on the door glass - racks, interior buildup, and the drawer below often get checked. Clean the microwave inside and out, and do not forget the dishwasher door edges and filter area if accessible.
Bathrooms
Bathrooms do not need fancy products. They need detail. Soap film, hard water marks, toilet buildup, and hair in corners are the usual reasons a bathroom fails inspection.
Scrub the tub or shower walls, fixtures, doors, and tracks. Clean grout lines as much as possible without causing damage. Wipe vanities inside and out, sanitize the sink, polish mirrors, and clean light fixtures. The toilet should be cleaned completely, including the base, sides, and the area behind it.
If there is a bathroom exhaust fan cover, dust it. If cabinets or drawers are present, wipe those interiors too. Finish by mopping the floor carefully around the toilet base and along edges.
Bedrooms and living areas
These rooms look simpler, but they still collect dust in predictable places. Closet shelves, baseboards, window tracks, and door frames are frequent misses.
Wipe all reachable surfaces, including closet interiors. Clean mirrors and interior glass. If blinds are staying, dust them thoroughly. Pay attention to scuff marks on walls and doors, but use care - aggressive scrubbing can remove paint. For carpeted rooms, vacuum slowly and more than once if traffic patterns are visible. For hard floors, sweep first and then mop.
Laundry area and utility spaces
These areas are easy to overlook because they are not used the same way as the main rooms. That is exactly why they stand out when left dirty.
Wipe the washer and dryer exterior, clean behind them if they are moved safely, and remove lint or debris from the surrounding floor. Cabinets, shelves, utility sinks, and water heater closets should be dusted and wiped if accessible. Even a small utility area should feel intentionally cleaned, not skipped.
The details that get missed most often
A good move out cleaning checklist covers the small items that create big impressions. Light switches, outlet covers, door handles, cabinet pulls, thermostat covers, and entry doors all collect fingerprints and grime. Clean them.
Window tracks are another common problem. You do not need perfection in every older home, but visible dirt, dead bugs, and dust clumps send the message that the cleaning was rushed. The same goes for baseboards, especially in hallways and behind doors.
Trash is obvious, but leftover cleaning supplies can be just as frustrating for the next occupant or manager. Once the cleaning is done, remove everything. The home should look finished, empty, and ready.
What to bring before you start
If you are doing the work yourself, do not start with half a kit. Most delays happen because someone has to stop and buy more supplies midway through the job.
At minimum, you will want microfiber cloths, sponges, a scrub brush, a vacuum with attachments, a mop, trash bags, glass cleaner, an all-purpose cleaner, a degreaser, and a bathroom disinfecting product that matches the surfaces in the home. Gloves help. So does a step stool for upper dusting. If there is heavy buildup in the kitchen or bathroom, plan for extra time rather than assuming stronger chemicals will solve everything faster.
When DIY makes sense - and when it does not
If the home is already in good shape, mostly empty, and you have a full day to work without interruptions, a DIY move-out clean can be reasonable. That is especially true for smaller apartments with limited wear.
But if you are dealing with a full house, multiple bathrooms, pet hair, appliance buildup, or a tight turnover window, it becomes a different job. At that point, the real issue is not effort. It is consistency. You need every room cleaned to the same standard, and you need it done without guesswork.
That is where professional service earns its value. A process-driven team works from a defined scope, brings the right supplies, and cleans in a sequence that prevents backtracking. For busy households and working professionals, that usually costs less than losing a full day and still wondering what got missed.
At Best Maids Ever, that reset-first mindset is built into how we clean. The goal is not a light surface pass. It is a proper top-to-bottom result that makes the handoff easier and the next step cleaner.
A practical standard for move-out cleaning
A move-out clean does not need to look staged. It needs to look complete. Cabinets should be empty and wiped. Appliances should be cleaned inside. Bathrooms should be sanitized. Floors should be finished last. And the small touchpoints - switches, handles, trim, and tracks - should not be ignored.
That is the standard people remember when they walk in. If you clean with that level of discipline, the home will feel ready, not just vacant.
Before you turn in keys, do one final walk-through with lights on and nothing in your hands. Open doors, check inside cabinets, and look at the space the way the next person will. A clean home should not need explanations.