
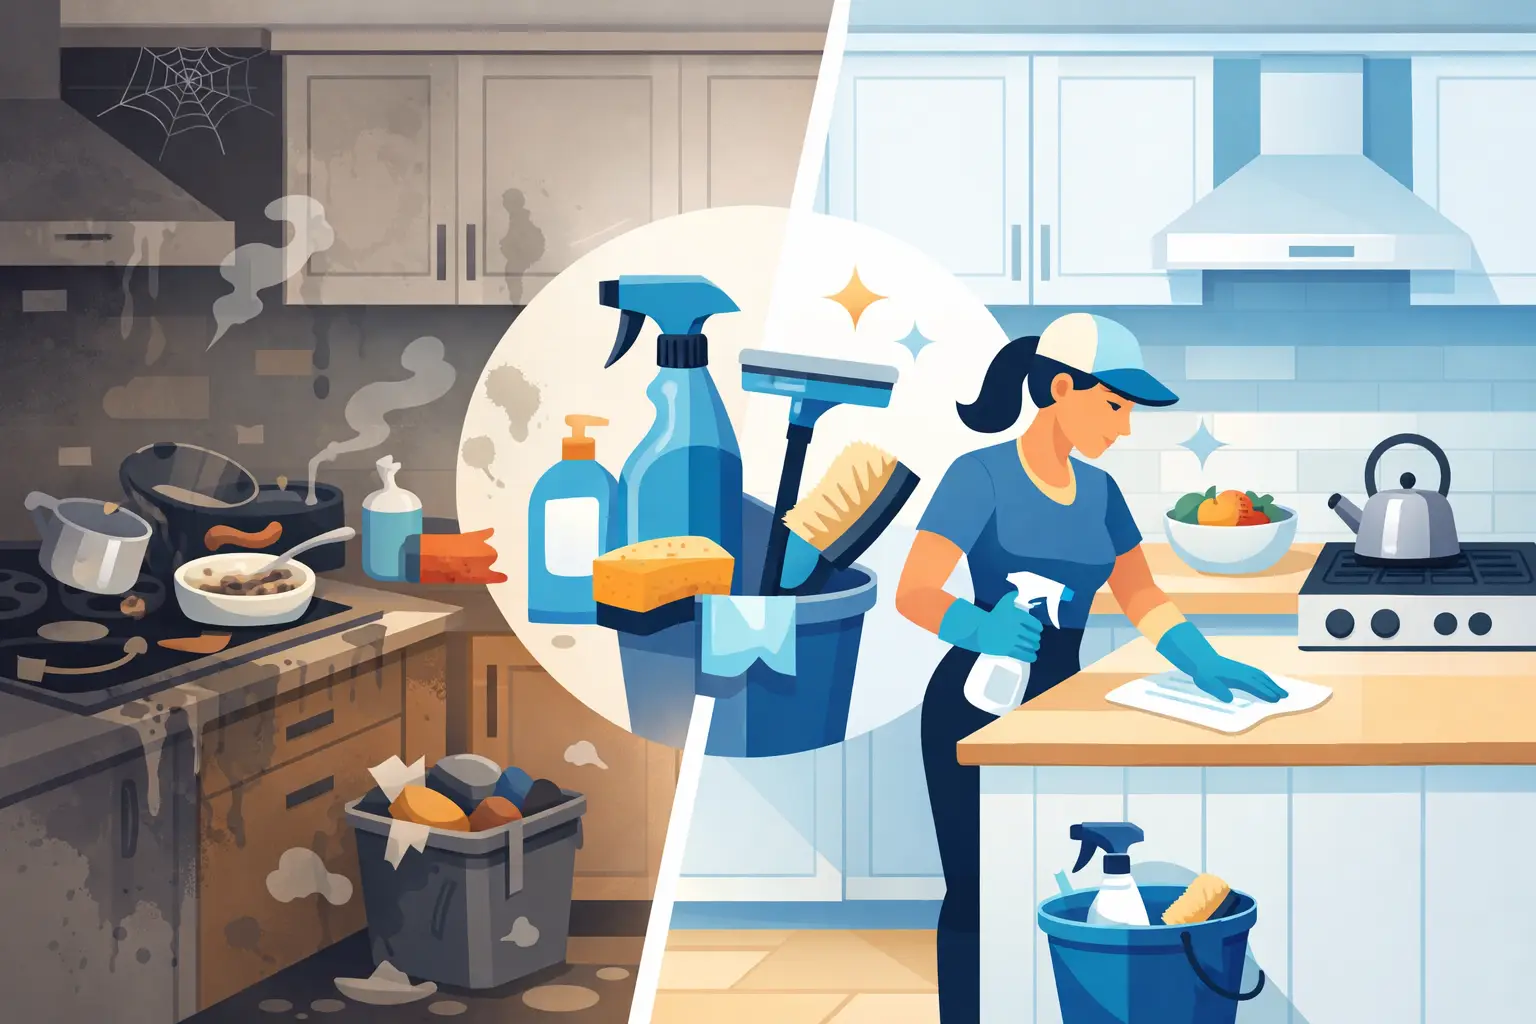
A neglected kitchen rarely looks bad because someone missed one cleaning day. It gets there through small delays: grease that lands on cabinet doors, spills that bake onto the stovetop, a refrigerator that becomes a storage unit, and floors that collect more than crumbs. Knowing how to clean neglected kitchens starts with accepting one rule: this is a reset, not a quick tidy.
Trying to clean everything at once is how people lose an entire Saturday, get discouraged, and leave the hardest areas untouched. A better approach is to work in a fixed order, give products time to work, and separate cleaning from organizing. You do not need a cabinet full of specialty products. You need a clear plan and enough time to do the job safely.
Start by Setting Up the Kitchen for a Reset
Before spraying a single surface, remove trash, dishes, food packaging, and anything sitting on the counters that does not belong there. Put clean dishes away, load or empty the dishwasher, and clear the sink. A crowded workspace turns a straightforward cleaning job into constant rearranging.
Open a window if possible and turn on the range hood. Grease-removing products and oven cleaners can have strong odors, even when used correctly. Wear gloves, especially if you have cuts or sensitive skin. Never mix cleaning products. Bleach should not be combined with ammonia, vinegar, acids, or other cleaners.
For most neglected kitchens, a practical supply kit includes:
- A degreasing cleaner suitable for kitchen surfaces
- Dish soap, warm water, microfiber cloths, and non-scratch sponges
- Baking soda for gentle scrubbing and odor control
- A vacuum or broom, mop, and a floor cleaner made for your floor type
Read labels before using any product on natural stone, unsealed wood, painted cabinets, stainless steel, or aluminum. Strong degreasers can damage finishes when left on too long. More product is not always better.
How to Clean Neglected Kitchens in the Right Order
The order matters. Clean from high to low, dry debris before wet cleaning, and work from the least dirty areas toward the messiest ones. This prevents you from wiping grime back onto surfaces you already cleaned.
1. Soak the hard jobs first
Start by applying degreaser to the stovetop, range hood exterior, backsplash behind the stove, and greasy cabinet fronts near cooking areas. If your product is safe for those materials, let it sit for the label-recommended dwell time. That pause does the heavy lifting.
At the same time, fill the sink with hot, soapy water and place removable burner grates, knobs, utensil holders, and other washable items inside. Do not soak electrical components or anything with labels that say hand-wash only. For baked-on food, make a paste of baking soda and water, apply it to the area, and let it sit while you handle another task.
2. Empty and clean the refrigerator
A neglected refrigerator can hold old food, sticky drawers, and odors that move into everything else. Work one shelf or section at a time so perishables do not sit at room temperature longer than necessary. Throw away expired food, mystery containers, and anything with mold, leaking packaging, or an off smell.
Remove shelves and drawers if they are designed to come out. Let cold glass shelves reach room temperature before washing them in warm water, since a sudden temperature change can crack glass. Wipe the interior with warm soapy water or a food-safe cleaner, then dry every surface thoroughly before putting food back.
Do not ignore the door seals. Crumbs and residue collect in their folds, which can affect how well the door closes. Wipe them gently with a damp cloth and dry them. If the refrigerator has a removable drip tray or water dispenser, check the manufacturer instructions before cleaning those parts.
3. Clean cabinets, handles, and walls
Cabinet fronts often hold an invisible layer of grease, especially around handles and above the range. Spray cleaner onto your cloth instead of directly onto cabinet doors when working with wood or painted finishes. Wipe in small sections, then follow with a clean damp cloth to remove residue.
Pay attention to handles, pulls, light switches, and the edges of doors. These are high-touch areas that may feel sticky even after the visible dirt is gone. For corners and grooves, use a soft detailing brush or an old toothbrush reserved for cleaning.
If cabinet interiors are dirty, empty only one cabinet at a time. Vacuum or wipe out crumbs, clean the shelf, dry it completely, and return only what you use. This is where cleaning and organizing should meet, but not compete. Do not turn a kitchen reset into a full inventory project unless you have the time.
4. Tackle the stove, oven, and range hood carefully
The stove is usually the point where a kitchen moves from “behind” to genuinely neglected. Remove loose crumbs first. Scrub burner grates and drip pans after they have soaked, using a non-scratch pad when appropriate. Wipe around the burners and control panel with a lightly damp cloth, taking care not to flood openings or electrical parts.
For the oven, use the method recommended by its manufacturer. The self-clean cycle can create smoke, strong odors, and high heat, so it is not always the best choice for a heavily soiled oven or a household with pets, children, or poor ventilation. A commercial oven cleaner can work well, but follow the directions precisely and protect nearby surfaces.
The range hood needs attention too. Wipe the outside, then remove and wash metal grease filters if they are washable. A filter coated in grease cannot do its job effectively. Replace charcoal filters when applicable rather than trying to scrub a disposable filter clean.
5. Reset counters, sink, and small appliances
Once upper surfaces are clean, wipe down countertops from back to front. Use a cleaner that matches the material. Granite, marble, quartz, butcher block, laminate, and stainless steel all have different needs. Acidic cleaners can dull or etch natural stone, while abrasive pads can leave scratches on many finishes.
Move the toaster, coffee maker, microwave, and other small appliances instead of cleaning around them. Empty crumb trays, wipe cords, and clean the counter space beneath each item. Clean the microwave interior by softening dried food first with steam or a microwave-safe bowl of water, then wiping it down. Do not spray cleaner directly into vents or control panels.
Finish the sink last. Remove food debris from the drain, wash the basin, clean the faucet base and handles, and rinse thoroughly. If the drain smells but is not clogged, flush it with hot water and use a drain-safe cleaning method. Avoid chemical drain cleaners unless necessary, especially if you have older plumbing or a septic system.
6. Finish with the floors and touch points
Vacuum or sweep thoroughly, including beneath the refrigerator, stove, and movable furniture if you can safely access those areas. Kitchen floors hold grease, pet hair, food particles, and cleaning residue, so mopping before the rest of the room is finished only creates more work.
Use a floor cleaner appropriate for the material. Wood and laminate need minimal moisture, while tile may tolerate a more thorough wet mop. Change dirty water as needed. A mop bucket full of gray water does not clean a floor - it redistributes grime.
Before you call the reset complete, wipe the final touch points: door handles, cabinet pulls, light switches, trash can lid, chair backs, and appliance handles. Replace the trash bag, put out clean dish towels, and let surfaces dry before setting items back in place.
When a Neglected Kitchen Needs Professional Help
Some kitchens need more than a few hours and a good checklist. Heavy grease on cabinets, neglected appliance interiors, pest evidence, smoke residue, mold concerns, or a move-in situation may require a deeper, more controlled cleaning process. If you are dealing with unsafe buildup, damaged materials, or a kitchen that has been unused for months, it may be smarter to bring in professionals rather than experiment with harsh products.
A proper first-time deep clean should reset the visible surfaces and the details people tend to avoid, including interior appliances when included in the service scope. Best Maids Ever uses that reset as the foundation for recurring service, because maintenance cleaning works best after the kitchen is already brought back to a reliable standard.
Keep It From Getting Neglected Again
The easiest maintenance plan is specific and realistic. Wipe cooking surfaces after they cool, clear the sink each night, and give counters a daily reset. Once a week, clean appliance exteriors, cabinet fronts near the stove, and the floor. Once a month, check the refrigerator for expired food and clean the microwave, range hood filter, and high-touch spots.
A clean kitchen does not require perfection. It requires a system that stops grease, food residue, and clutter from turning into a project you keep postponing. Start with one controlled reset, then protect the work with a routine you can actually keep.