
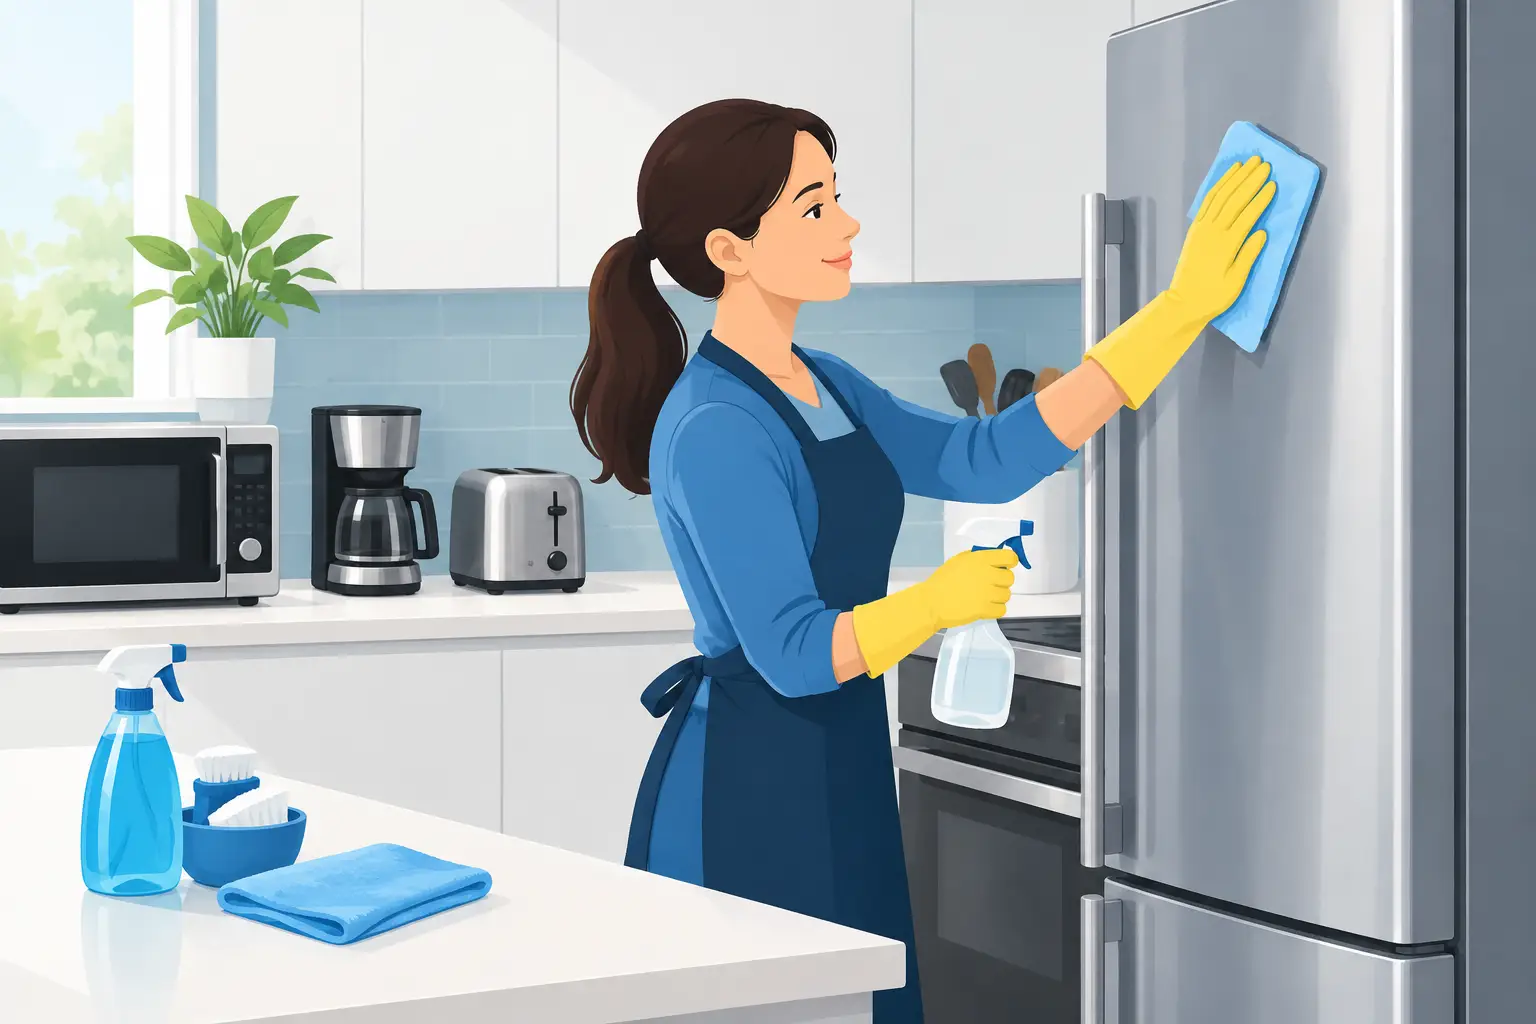
A sticky microwave handle, a coffee maker reservoir, and the refrigerator drawer that holds produce all need attention for different reasons. Knowing how to sanitize kitchen appliances safely means treating each surface according to what it is: food-contact material, electrical equipment, or a sealed component that can be damaged by too much moisture. The goal is not to soak everything in disinfectant. It is to remove soil first, use the right product where it belongs, and leave the appliance safe to use.
For busy homes, this distinction matters. A rushed wipe with a strong cleaner can leave residue on food-contact surfaces, damage control panels, or push moisture into vents. A clear process gets better results without creating a new problem.
Clean First, Then Sanitize
Cleaning and sanitizing are not the same task. Cleaning removes crumbs, grease, mineral buildup, and visible residue. Sanitizing reduces germs on a cleaned surface to a safer level. If grease or food soil is still present, the sanitizing product cannot do its job reliably.
Start with warm water, a small amount of dish soap, and a clean microfiber cloth for most exterior surfaces. Wring the cloth out well. It should be damp, not dripping. Remove loose crumbs, wipe spills, and clean handles, knobs, buttons, and door edges before applying any sanitizer.
Use a product labeled for the surface and follow its instructions exactly. That includes the required contact time, which is how long the surface must stay visibly wet before it can be wiped or allowed to air-dry. Spraying and immediately wiping it away is often just cleaning, not sanitizing.
For anything that touches food, utensils, ice, or drinking water, check the product label carefully. Many disinfectants are not intended for direct food-contact surfaces unless they are rinsed afterward. When in doubt, rinse with clean water and dry with a fresh cloth after the required contact time.
Safety Rules Before You Start
Kitchen appliances combine heat, electricity, moving parts, and food surfaces. A good cleaning routine protects all four.
Unplug small appliances before cleaning them unless the manufacturer specifically says otherwise. Never immerse a base containing a motor, heating element, cord, or controls. Do not spray cleaner directly into vents, seams, touchscreens, control panels, or electrical connections. Spray your cloth instead.
Avoid combining products. Bleach should never be mixed with ammonia, vinegar, alcohol, or other cleaners. Those combinations can create dangerous fumes. Open a window or run the kitchen exhaust fan when using strong products, and keep children and pets away until surfaces are dry.
Do not assume that more product means more sanitation. Excess liquid can discolor finishes, weaken rubber seals, and leave residue behind. The correct amount, used for the time stated on the label, is the disciplined approach.
How to Sanitize Kitchen Appliances Safely by Type
Refrigerator and freezer
The refrigerator is one of the highest-value places to clean carefully because leaks from raw meat, unwashed produce, and expired food can spread residue across shelves and drawers. Start by removing food and checking dates. Discard spoiled items before you clean.
Take out removable shelves, bins, and drawers if the manufacturer allows it. Let cold glass shelves come closer to room temperature before washing them. Sudden temperature changes can crack glass. Wash removable parts with warm, soapy water, rinse, and dry fully before reinstalling.
Wipe the interior walls, handles, door gasket, and shelf supports with a damp cloth and mild cleaner. The gasket deserves extra attention because crumbs and moisture collect in its folds. Use a soft brush or cloth, not an abrasive scrubber that could tear the seal. Sanitize high-touch exterior areas such as handles and the water dispenser control, but keep spray away from dispenser openings and electronics.
Microwave
Steam is the most efficient first step for a microwave with dried-on food. Place a microwave-safe bowl of water inside and heat it until it steams, then allow it to sit for a few minutes with the door closed. This loosens residue so you do not need harsh chemicals or aggressive scrubbing.
Remove the turntable and roller ring, if applicable, and wash them in warm, soapy water. Wipe the interior with a damp cloth, including the ceiling and door edges. For the keypad and handle, apply sanitizer to a cloth rather than directly to the appliance. Do not flood the door latch or vent openings.
Dishwasher
A dishwasher cleans dishes, but the appliance itself still collects food particles, grease, and mineral scale. Empty the filter according to the manufacturer instructions, rinse away debris, and clean the filter housing with a soft brush or cloth. Wipe the door seal, inner door edge, and control panel.
Run a cleaning cycle with a dishwasher cleaner approved for your machine when buildup is visible or odors persist. This is especially useful in hard-water areas of New Jersey, where mineral deposits can accumulate faster. Do not use bleach in a stainless-steel dishwasher unless the manufacturer explicitly permits it. It can damage stainless components and seals.
Coffee maker and espresso machine
Coffee oils and standing water make these appliances easy to overlook. Empty the carafe, basket, pod holder, drip tray, and water reservoir after use when possible. Wash removable, dishwasher-safe parts as directed by the manufacturer.
Descaling is not the same as sanitizing. Descaling removes mineral buildup from internal water pathways, while sanitizing focuses on surfaces and removable components. Use the manufacturer-recommended descaling method for the internal system. For exterior buttons, handles, and the warming plate, wipe with a lightly dampened cloth, then sanitize only where appropriate. Never pour sanitizer into a water reservoir unless the appliance instructions specifically call for it.
Blender, food processor, and stand mixer
These appliances need prompt cleaning because food can dry under blades, lids, gaskets, and attachments. Unplug the appliance. Remove jars, bowls, lids, blades, and detachable accessories according to the manual. Wash and rinse the removable food-contact pieces thoroughly, paying attention to gasket grooves and blade hubs.
Wipe the motor base with a damp cloth. Keep liquid away from the underside, cord connection, and control area. Before reassembly, make sure every part is completely dry. Moisture trapped around seals can cause odors and encourage microbial growth.
Air fryer, toaster oven, and toaster
Grease is the main issue here. Allow the appliance to cool completely, then remove crumbs and wipe out the basket, tray, or crumb pan. Wash removable nonstick parts with a nonabrasive sponge. Abrasive powders, steel wool, and harsh scouring pads can damage coatings and make future cleaning harder.
For toaster ovens and air fryers, do not spray cleaner inside the heating chamber or onto heating elements. Use a barely damp cloth for accessible surfaces and follow manufacturer guidance for stubborn grease. For a pop-up toaster, unplug it, empty the crumb tray, and turn it upside down gently over the sink or trash. Never insert utensils, cloths, or liquid into the slots.
Products and Methods to Avoid
Some shortcuts create more risk than value. Skip oven cleaner on surfaces not designed for it, including many air fryer interiors and coated appliance parts. Avoid abrasive pads on stainless steel, glass cooktops, touchscreens, and nonstick coatings. Keep vinegar away from natural stone counters surrounding the appliance, and do not use it as a universal substitute for every manufacturer-approved cleaner.
Bleach can be appropriate on certain durable, non-food-contact surfaces when the label and appliance manufacturer allow it. It is not a default answer for every kitchen job. It can discolor finishes, corrode metal, and leave a residue that must be handled correctly around food-prep areas.
Set a Routine That Holds Up
High-touch areas need frequent attention. Wipe refrigerator handles, microwave handles, appliance buttons, and coffee maker touchpoints several times each week, or more often after illness in the home. Clean spills immediately so they do not become a hardened cleaning project.
Plan a more detailed appliance reset monthly or as needed. This is the time to clean refrigerator bins, dishwasher filters, air fryer trays, coffee maker removable parts, and the areas under or behind countertop appliances. Internal appliance cleaning is also a practical part of a first-time deep clean because it removes the buildup that routine wipe-downs rarely reach.
A properly sanitized kitchen should feel controlled, not chemical-heavy. Use the right cleaner, respect the appliance instructions, and keep moisture away from electrical components. When the work is done with a repeatable process, your appliances stay cleaner, last longer, and are ready for the next meal without guesswork.